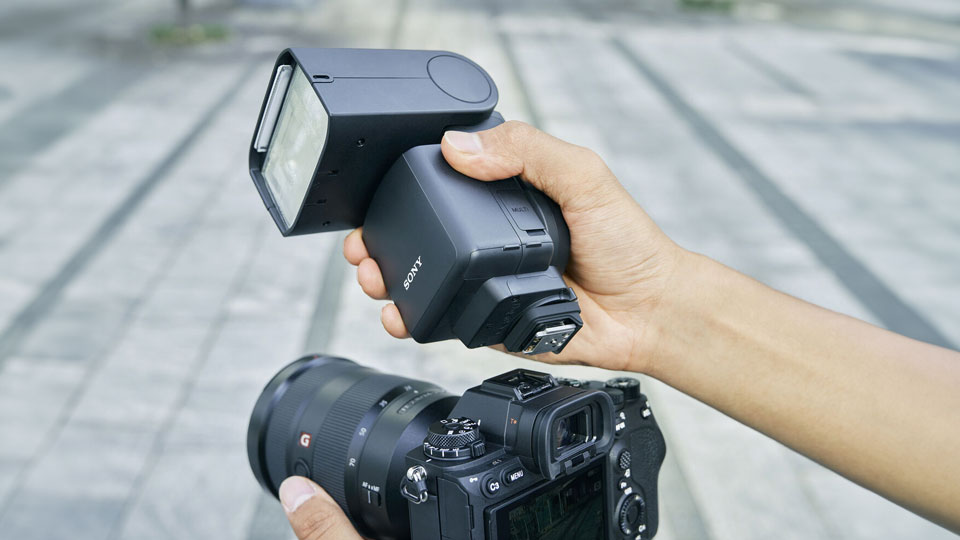
In a world filled with dimly lit environments and challenging lighting conditions, capturing the perfect low-light photo can often feel like an impossible feat. However, fear not, as there is a solution that can elevate your photography game to new heights – external flashes. Join us on a journey as we explore the art of enhancing low-light photos with these powerful tools, unlocking a world of creative possibilities and stunning images.

– Maximizing Light Control for Crisp and Clear Low-Light Photos
When it comes to capturing high-quality low-light photos, one of the most important tools in a photographer’s arsenal is an external flash. By using an external flash, you can easily control the amount of light that enters your camera, allowing you to achieve crisp and clear low-light images. Here are some tips for maximizing light control with external flashes:
- Adjust the flash intensity: Most external flashes allow you to adjust the intensity of the light they emit. By adjusting the flash intensity, you can ensure that your photos are perfectly lit, even in low-light conditions.
- Use a diffuser: To avoid harsh shadows and achieve a more natural-looking light, consider using a diffuser with your external flash. A diffuser can help spread the light more evenly, resulting in softer and more appealing low-light photos.
- Experiment with bounce flash: Bounce flash involves pointing the external flash at a reflective surface, such as a ceiling or wall, instead of directly at the subject. This technique can help create more flattering and natural-looking light in your low-light photos.
- Combine multiple flashes: For even more control over your light, consider using multiple external flashes. By strategically placing and adjusting multiple flashes, you can achieve stunning low-light photos with varying degrees of light and shadow.
– Choosing the Right External Flash for Enhanced Image Quality
When it comes to capturing stunning low-light photos, having the right external flash can make all the difference. Whether you’re shooting in a dimly lit room or outside at night, a quality external flash can enhance your images by providing the necessary light to illuminate your subjects.
One of the key factors to consider when choosing an external flash is its power output. A flash with a higher guide number will be able to reach subjects that are further away, providing more versatility in your photography. Additionally, consider the flash’s recycling time – a faster recycling time means you can capture more shots in quick succession without waiting for the flash to recharge.
Another important feature to look for in an external flash is its compatibility with your camera. Make sure to choose a flash that is compatible with your camera’s hot shoe or PC sync port to ensure seamless integration. Additionally, consider factors such as TTL compatibility, wireless capabilities, and adjustable flash head angles for added flexibility in your lighting setup.
– Pro Tips for Properly Positioning and Modifying Light Sources
In photography, proper positioning and modification of light sources play a crucial role in achieving high-quality low-light photos. External flashes can be a game-changer when it comes to enhancing the lighting in your shots. Here are some pro tips to help you make the most out of your external flashes:
- Angle Matters: Experiment with different angles to find the most flattering lighting for your subject. Try positioning the flash off-camera to avoid harsh shadows and create a more natural look.
- Modify the Light: Use light modifiers such as diffusers or reflectors to soften the harsh light from the flash. This can help create a more even and flattering light on your subject.
- Multiple Flashes: Consider using multiple external flashes to add depth and dimension to your photos. By strategically placing them around your subject, you can create a more dynamic and interesting lighting setup.
– Avoiding Common Mistakes When Using External Flashes
When it comes to enhancing low-light photos, using external flashes can make a huge difference in the quality of your images. However, there are common mistakes that photographers often make when using external flashes that can negatively impact the outcome of their photos. By avoiding these mistakes, you can ensure that your low-light photos are stunning and well-lit.
One common mistake to avoid is using the flash at full power all the time. This can result in harsh, overexposed lighting that washes out your subject. Instead, try using the flash at a lower power setting and adjusting the distance and angle to achieve a more natural and flattering light. Experiment with different power levels to find the perfect balance for your specific lighting situation.
Another mistake to avoid is relying solely on the on-camera flash. While on-camera flashes can be convenient, they often produce unflattering, flat lighting that lacks depth and dimension. To enhance your low-light photos, consider investing in an off-camera flash or using a diffuser to soften the light and create more natural shadows. This will result in a more professional and dynamic look to your photos.
In conclusion, with the right tools and techniques, you can easily enhance the quality of your low-light photos using external flashes. By mastering the art of lighting and experimenting with different settings, you can take your photography skills to the next level and capture stunning images in any lighting condition. So, don’t be afraid to get creative and let your imagination shine through in every shot you take. Happy shooting!
